|
How To: Setting Up OAuth2 for PBS Email Integration
KB 2306, Release Note, Emailing, 3/23/2026
This document will walk through the necessary steps to utilize OAuth2 Integration for email users to access Microsoft Office 365 accounts within v10.
Azure Setups
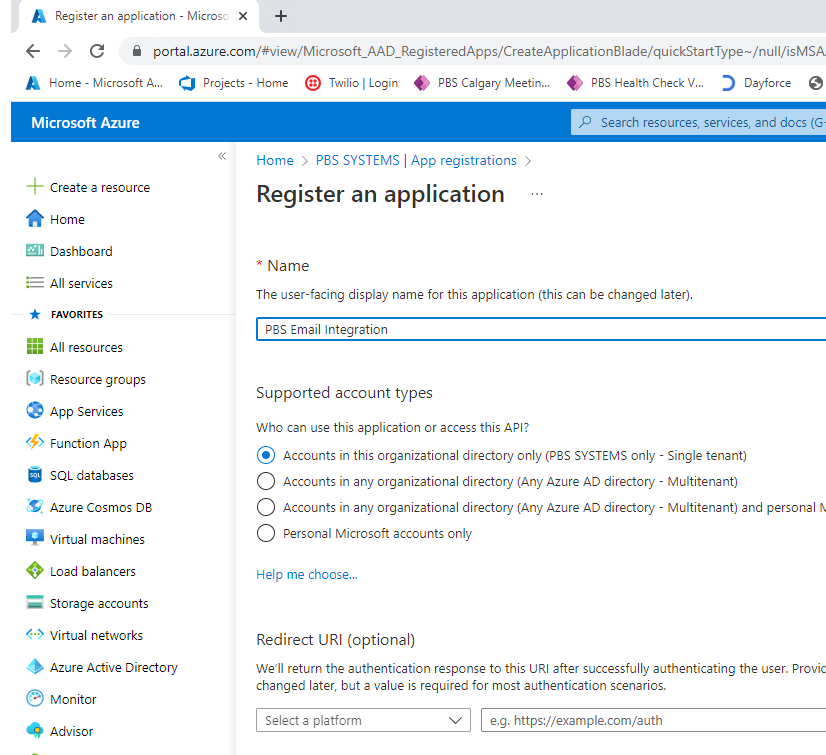
Open Azure portal and navigate to the Azure Active Directory blade; Select App Registration and add a new registration. PBS recommends naming this registration something to the effect of PBS Email Registration, although this name is not mandatory.
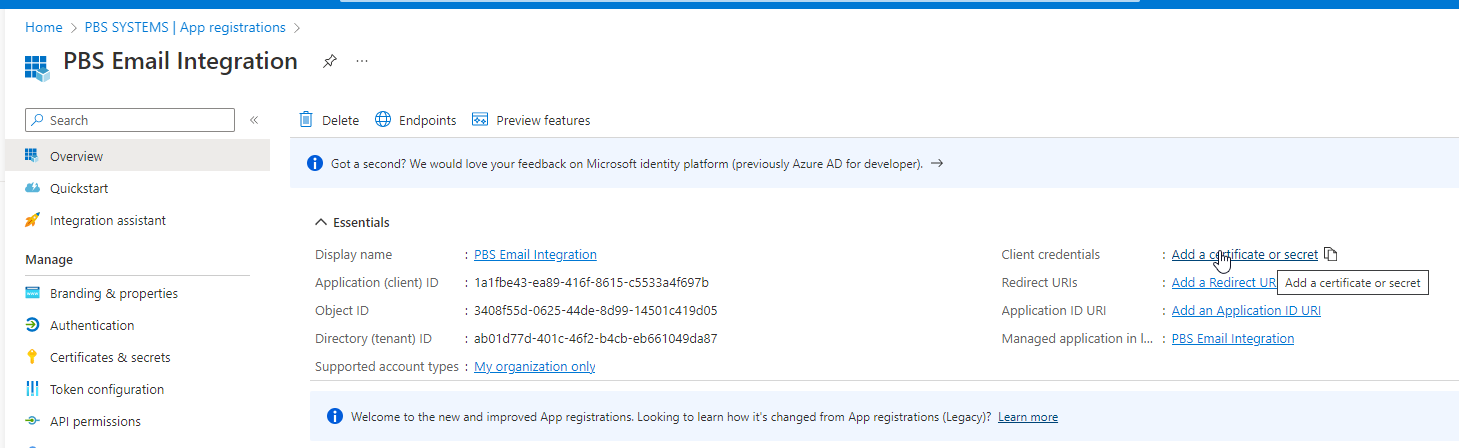
Once the new registration has been created, choose Add a certificate or secret.
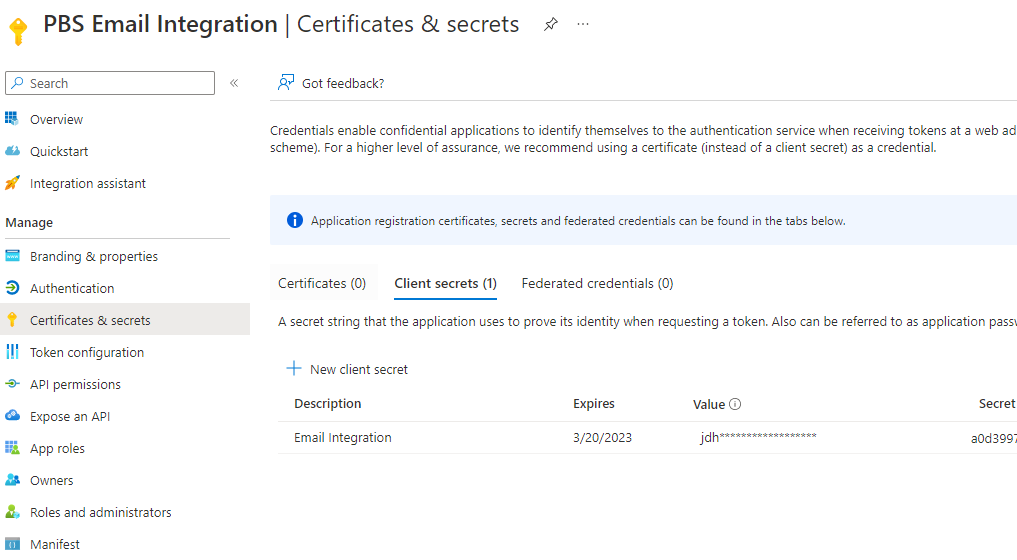
Create the secret and be sure to copy the Value and the Expiry date locally as this information cant be accessed once on another screen.
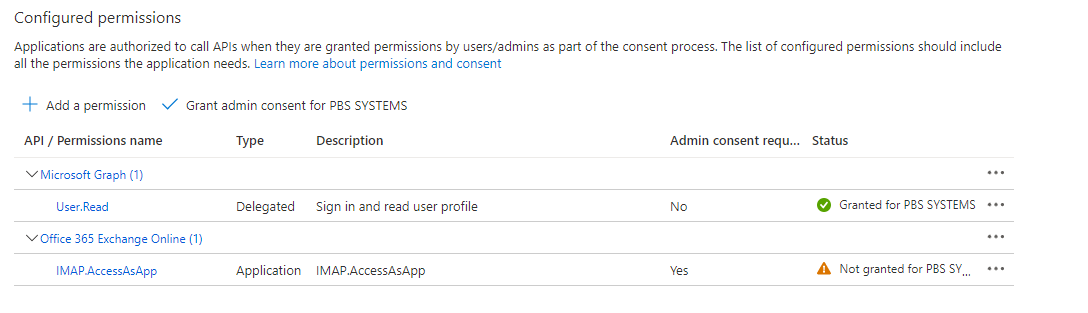
Select API permissions and choose Add a permission; Look for Office 365 Exchange Online, select Application permissions and select IMAP.AccessAsApp.
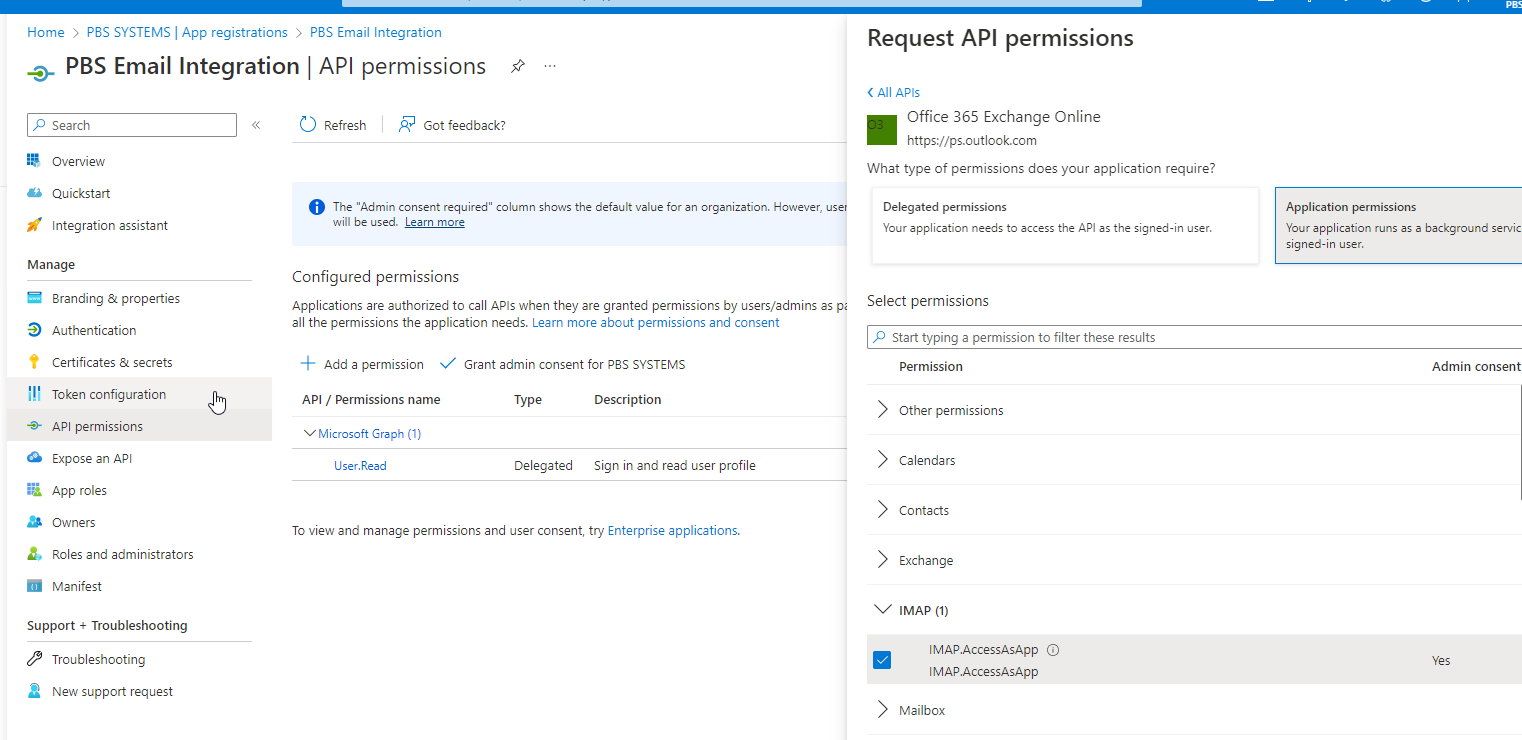
Grant Admin consent for the permission
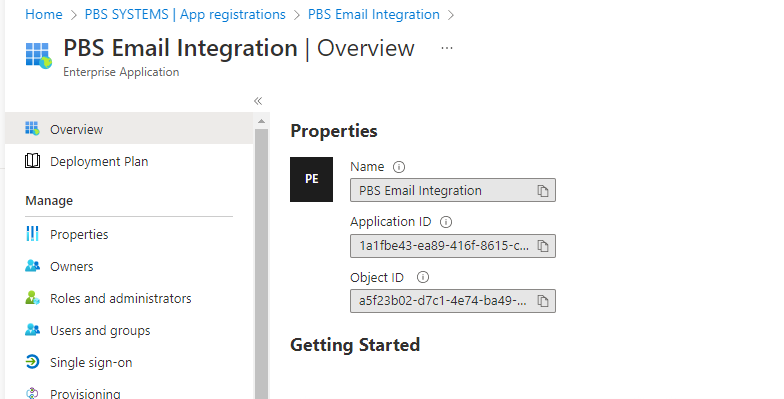
Next, go back to the Overview and select the link Managed Application in Local Directory to create an Enterprise Application.
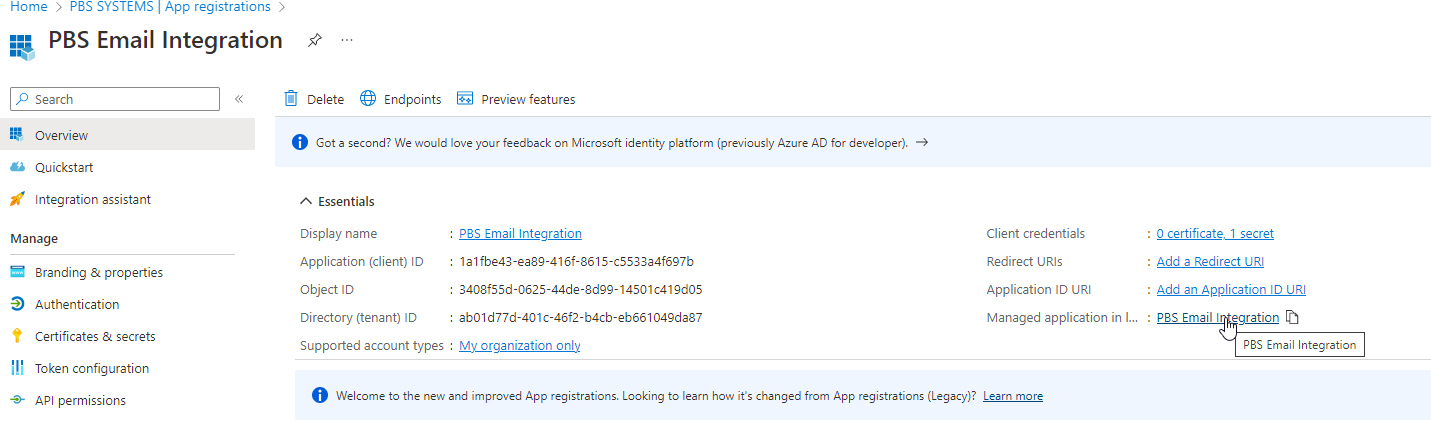
A screen like the example below should populate. The ApplicationId and ObjectID will be required for setups within v10.
Next, set up Exchange to grant permission to the app to access the resource.
Windows PowerShell Setups
Open Windows PowerShell. If this has not been accessed before, install and import first.
Note:
Some dealerships have indicated this functions better for them on the Exchange Online Management version 2.0.5.
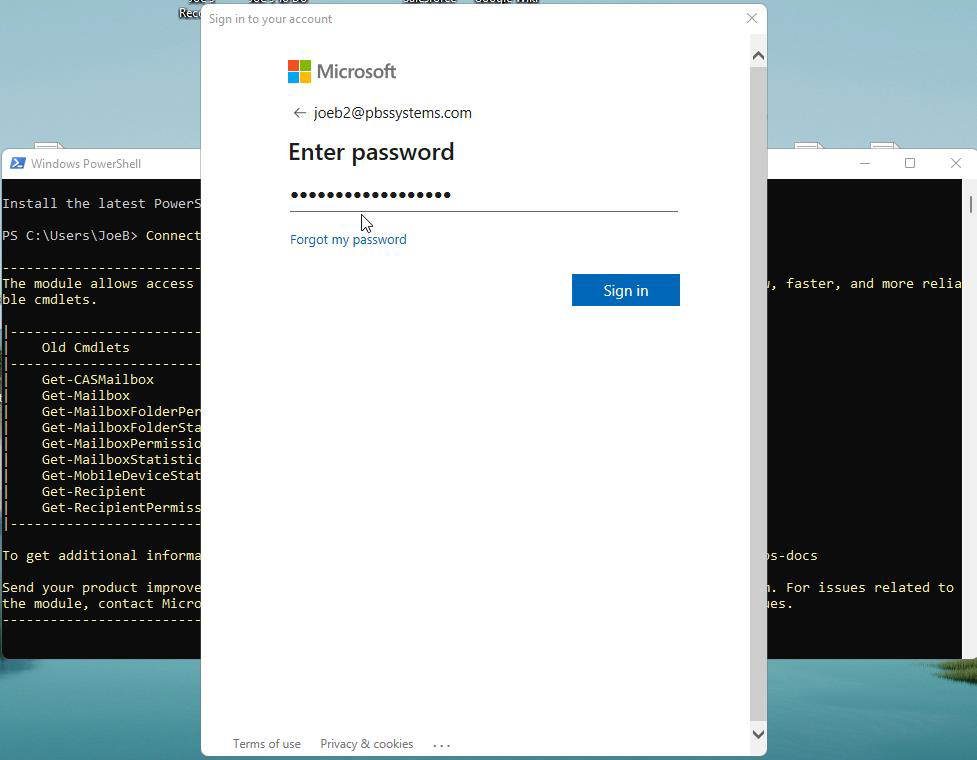
When the Windows PowerShell prompt displays, connect to the Exchange Online tenant by executing the command: Connect-ExchangeOnline

Once the above command has been input, press Enter to be prompted to input a Microsoft 365 username and password. Note that the credentials provided must be that of a user that has the Exchange Administrator role associated to their Microsoft 365 account.
Once authenticated successfully, the following window should appear:
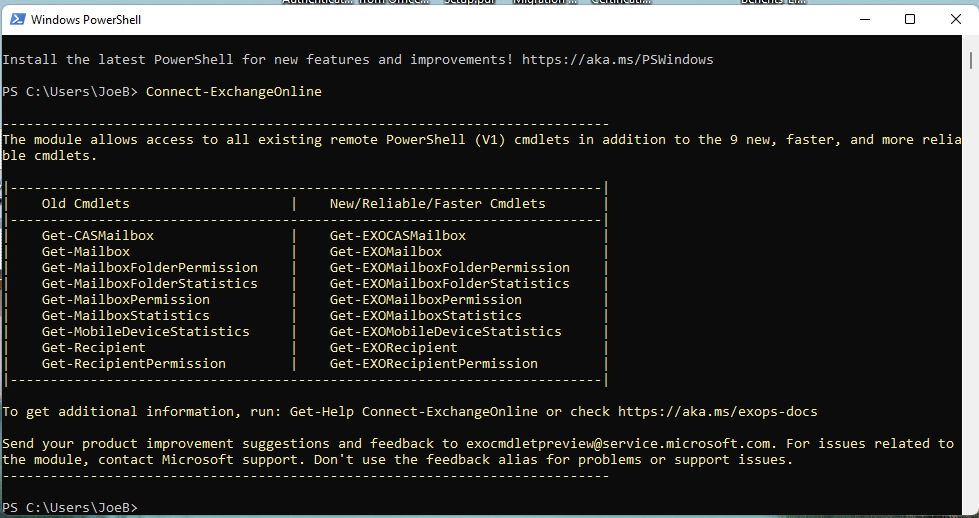
Once successfully connected to the Exchange Online tenant via PowerShell, proceed with creating the needed service principal and delegate full mailbox access to a specific mailbox.
To create the service principal, use the
New-ServicePrincipal
PowerShell cmdlet. In the example below a new service principal will be created with the following parameters:
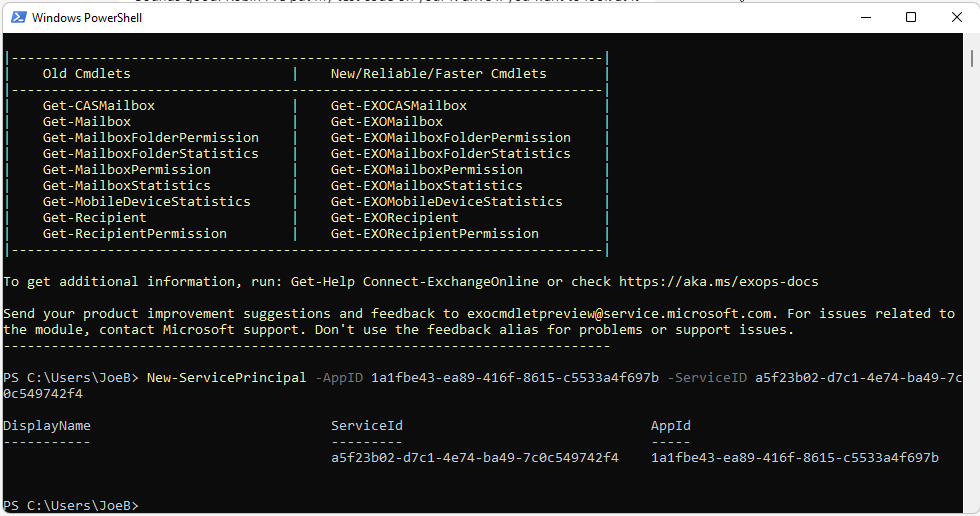
The PowerShell command will be as follows:
New-ServicePrincipal -AppID 1a1fbe43-ea89-416f-8615-c5533a4f697b -ServiceID a5f23b02-d7c1-4e74-ba49-7c0c549742f4
If the command worked, a message similar to the screenshot below should appear:
Once the service principal has been created in Exchange Online successfully, delegate it with full mailbox access to the desired mailbox. In the example below we will be delegating full mailbox access to mailbox chrisf@pbssystems.com.
The following parameters are needed to delegate mailbox access successfully:
AccessRights: FullAccess
The PowerShell command will be as follows:
Add-MailboxPermission -Identity chrisf@pbssystems.com -User a5f23b02-d7c1-4e74-ba49-7c0c549742f4 -AccessRights FullAccess
Press
Enter
to execute the command and a message similar to the screenshot below should appear:
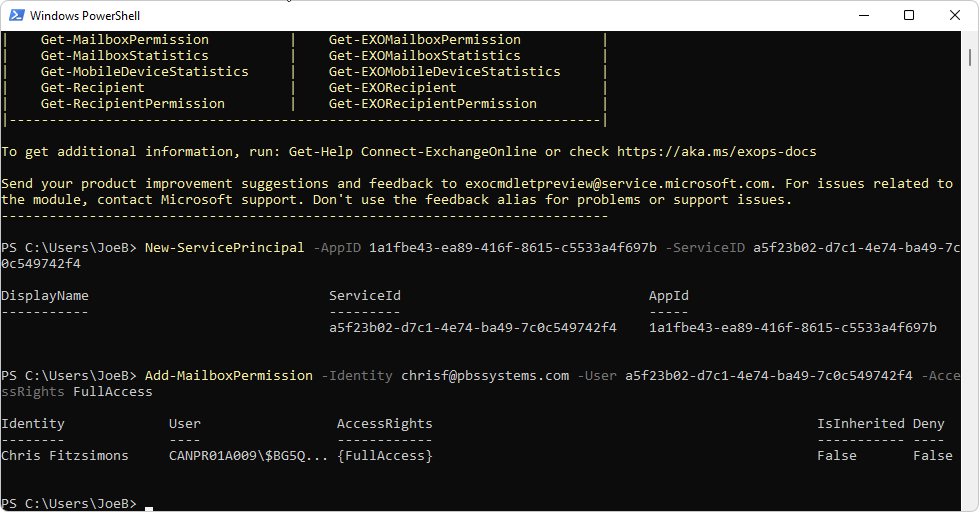
This indicates that a service principal in Exchange Online has been successfully created and that this service principal has been delegated with full mailbox access to the ChrisF@pbssystems.com mailbox.
Repeat this step for each email address to be set up for use within v10.
Required Information for v10 Integration
After completion of the Exchange Online setups, follow the steps below to input the following information for each account to be accessed within v10:
-
Directory/Tenant ID (Guid - Example: ad01c71a-401c-4f62-b4da-eb661049bc87)
-
Application/Client ID (Guid - Example: 78dc599d-c2bd-41d0-8ce8-00e8b2d8aefe)
-
Client Secret (String - Example: OF_8Q~aWnhw8oGViiHL34PVrJy_.q.n_fSY1AciN)
-
Secret Expiry (MM/DD/YYY - Example:03/27/2023)
To identify the Directory/Tenant ID:
-
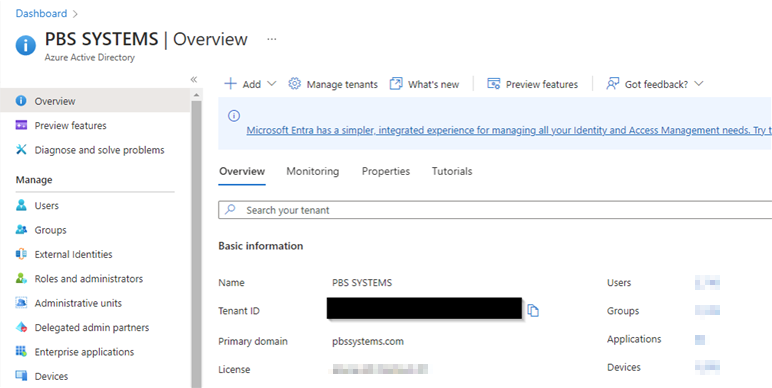
From the Azure Active Directory admin center, click Azure Active Directory in the left-hand navigation menu. The Overview page should display.
-
The unique identifier, called the Directory or Tenant ID should display in the right area of the screen.
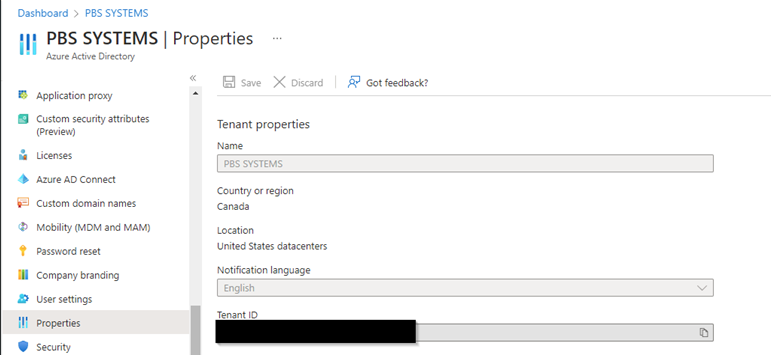
Alternatively, in the left-hand navigation in Azure Active Directory admin center, click Properties and the Directory/Tenant ID will display as well.
v10 Integration Setups
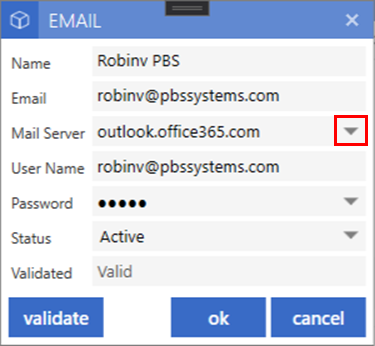
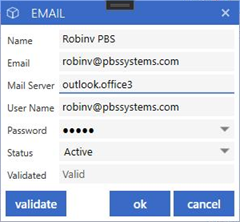
Within the email setups, select the dropdown arrow next to the mail server. This dropdown will only be present if an Office 365 mail server has been entered.
Within the Office 365 Setups window, enter the Tennant ID, Client Secret and the Secret Expiry
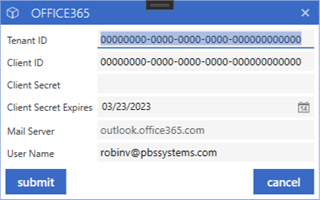
Once information has been added, select submit to validate the email address using the information entered. If completed successfully, the Validated status will fill in as 'Valid'
Repeat this process for each email address to be accessed within v10.
Troubleshooting
If an email integration was working and suddenly stopped, check the client secret expiry to ensure the date has not passed. By default, the client secret is set to expire every 6 months. This can be changed during setup to allow a maximum of 2 years before the creation of a new key and re-registration is required.
|