|
10.11 Text Manager
KB 1654, Release Note, 1/7/2021
*This document will review all functionality within the Text Manager.
To see how to associate a User to a Text Account
KB 1649 Click Here
Once a Users Text Account(s) are set up they will see a new Texting icon in the top right corner of the software.
If you have new text the icon will indicate this with a red circle and the number of unread Texts. The new messages indicator will appear for any new incoming Text where the User has membership, not just their default or Text assigned to them.
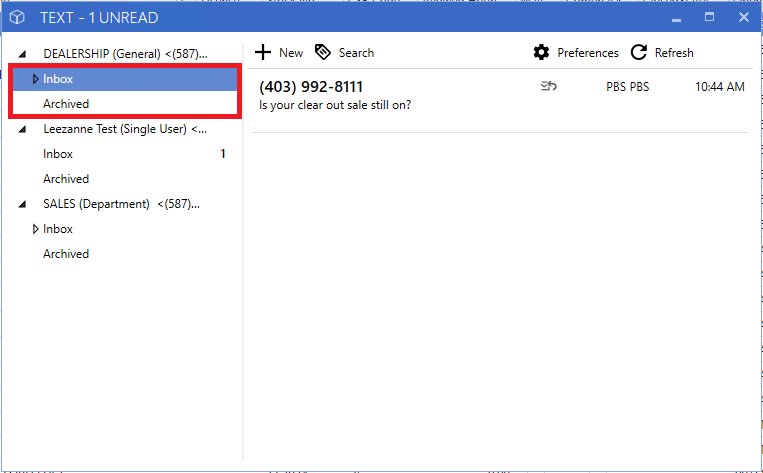
Click the icon to open a separate window to view your Inboxes.

Here you will be able to access all inboxes that you have permission to view.
Inbox:
Contains any new incoming Text, as well as any previously read Text that have not been moved to Archive
Archived:
Any text moved to Archived can still be reviewed in this mailbox folder.
Note:
All outgoing texts will be saved in the text message conversations
New
Opens in a new window; Text can be sent to any Contact, User, or any Text Account.

Search
Fuzzy search all Text messages for the folder selected.

Notification Preferences
Notifications will work based on each User's preferences in Text Manager. There are three options for Text notifications:
1.
Show conversations flashing on my taskbar. Select "Show New Window", "Leave Minimized, Flash Window".
Note:
This is the default setting

2.
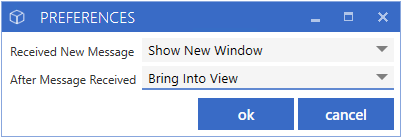
Show conversations instantly in the middle of my screen. Select "Show New Window", "Bring into View".
3.
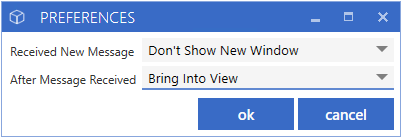
Show a red number indicator on the top of my screen. Select "Don't Show, New Window".
Refresh
This will manually refresh your Inboxes

Expanding Tooltip
Hover over dates and folders with your tooltip for full details

Text Messages
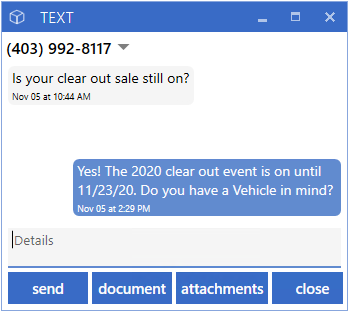
Double click to open an ongoing conversation

New Message
From:
The number Users will be texting from
To:
Recipient(s)
Details:
Write your Text Message here
Documents:
Send pre-set template from Workplan
Attachments:
Send Saved Images
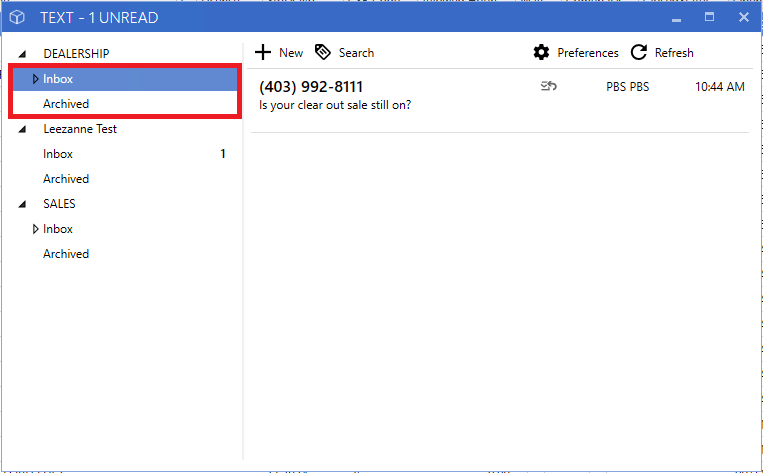
Document
*Pre-set template responses saved in Workplan
To Add, Edit, or Delete a template, navigate through the left menu: *System > Workplan > Maintenance > Document Maintenance
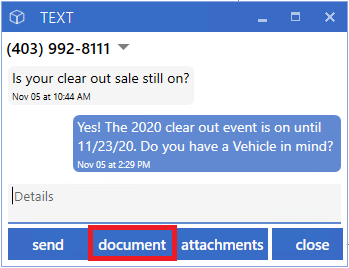
Once you have selected a Document, click "ok"
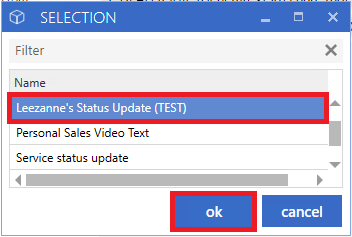
The selected Document will show in the Details field. You can Edit your Text, add an attachment, Send or Cancel the Text.
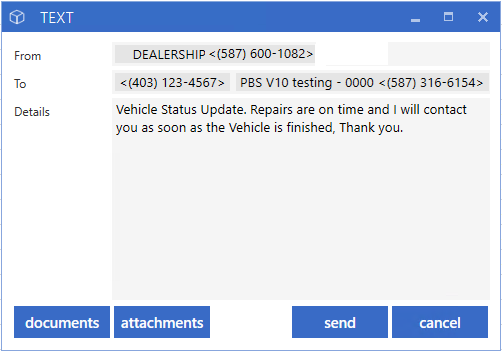
Attachments
*Ability to send an image
Note:
We only support Image file types per Mobile Carrier industry standards. We suggest image size does not exceed 4 MB as Carriers often won't support delivery with larger image files.
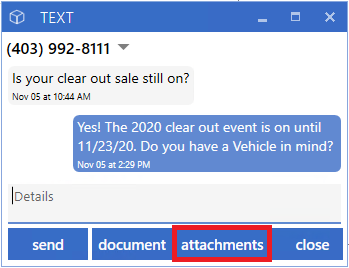
Select Attachments
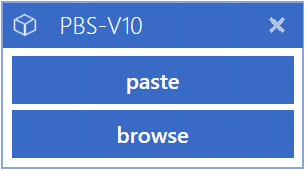
Paste:
Allows Users to insert a copied file(s) from any location.
Browse:
Allows Users to select a pre-saved file from a shared folder.
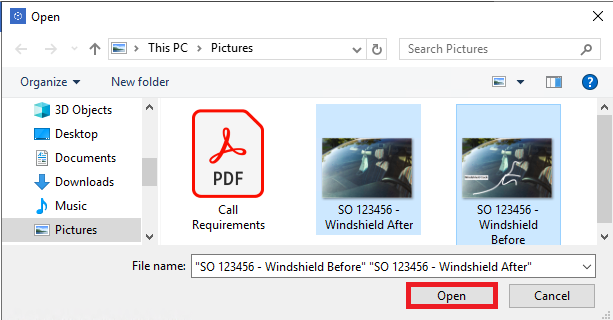
Select one or more Images to attach and click open.
How to add multiple attachments:
While holding down the Ctrl key, select all files you would like to attach.
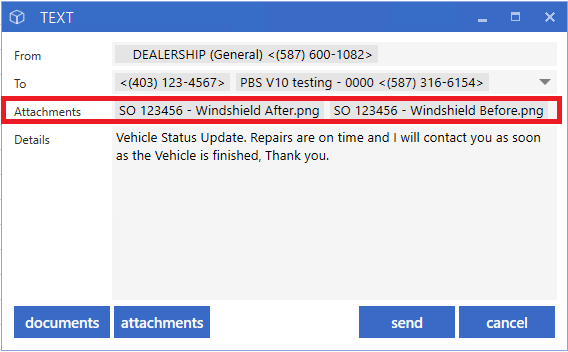
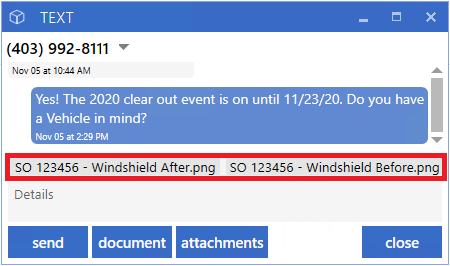
Attached files will display, above the Details field.
View from:
New Text Message
View from:
Ongoing Conversation
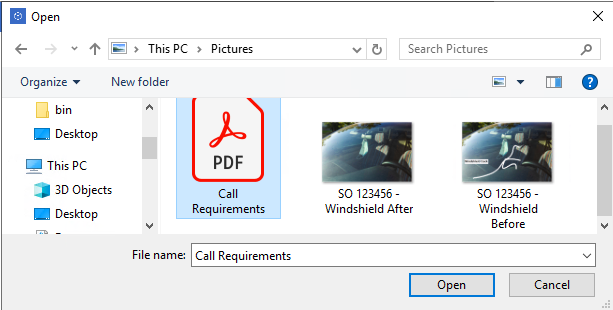
If you attach a file that is not an Image such as a PDF, you will get a popup alert.

Viewing Attachment:
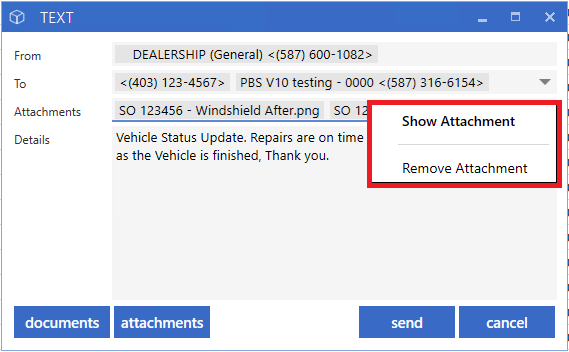
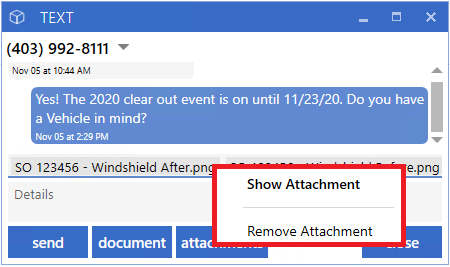
Double-click the file name or right-click and select Show Attachment
Remove Attachment:
Right-click and select Remove Attachment
View from:
New Text Message
View from:
Ongoing Conversation
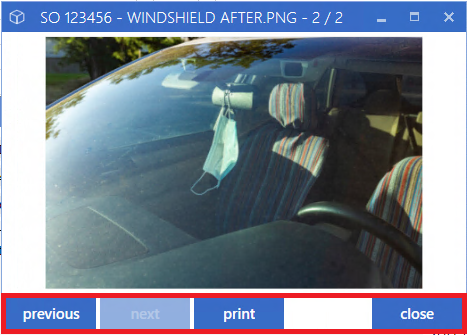
Attachment Options
Previous:
Shows previous attachment
Next:
Shows next attachment
Print:
Prints attachment
Close:
Closes the window
View Contact File
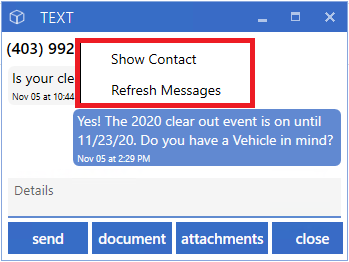
Once a number is associated with a Contact you can easily view their Contact File by clicking the drop-down menu beside the Contact Name/ Number and selecting "Show Contact or Right-click the Contacts Name / Number and select "Show Contact".
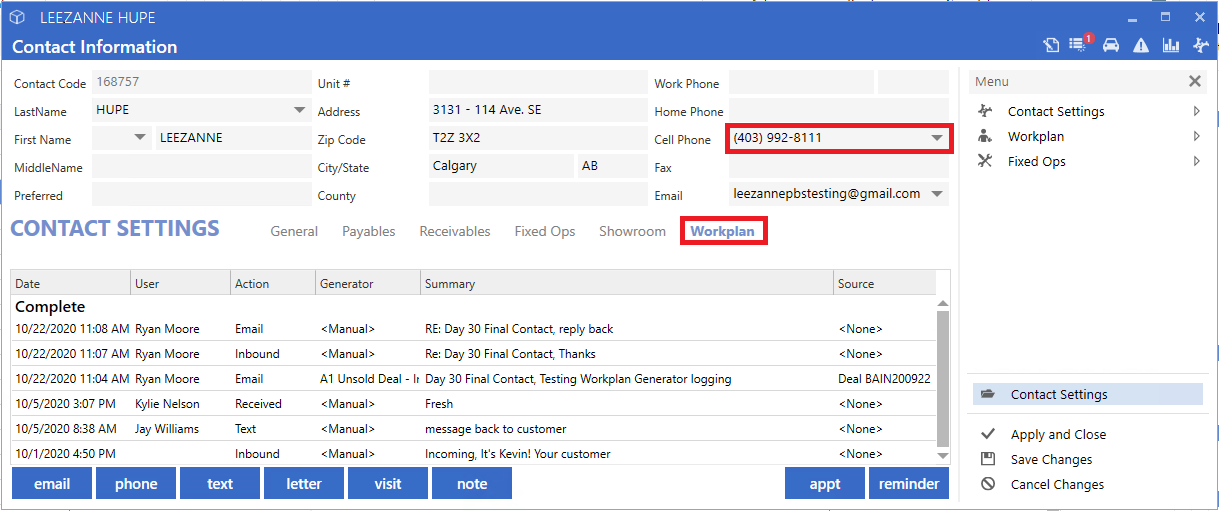
A new window will bring up the Contacts File under the Workplan tab.
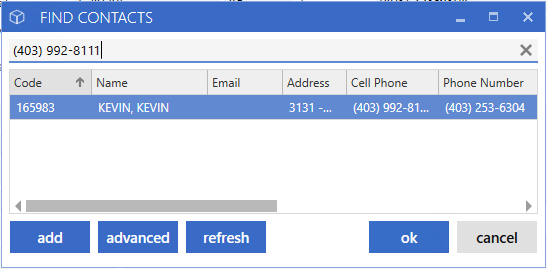
If a number is in more than one Contact File, a warning will appear when there is a potential match.
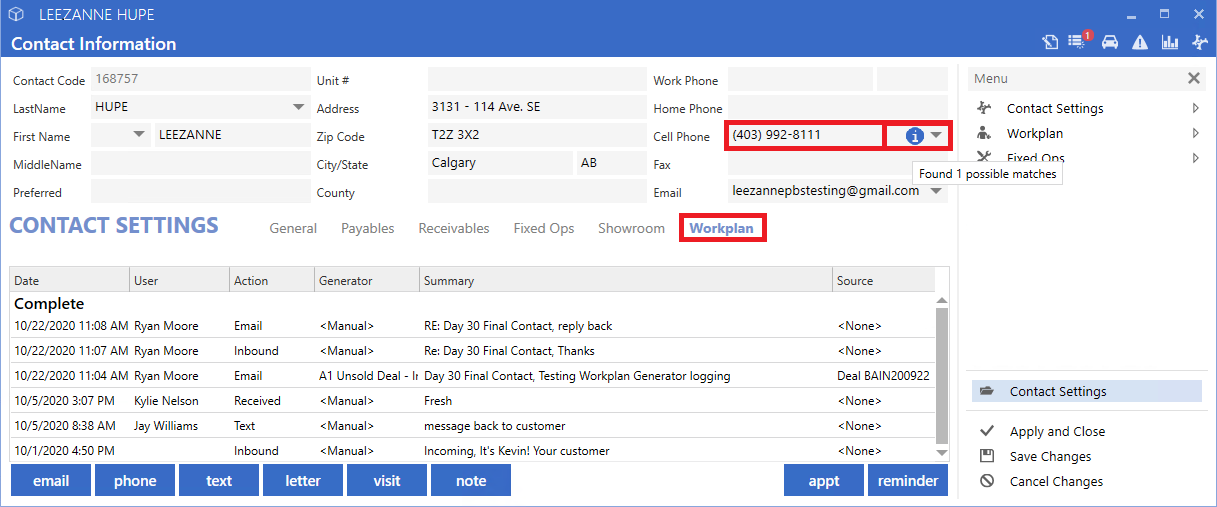
Double click the warning icon to view which Contact Files are associated with the same number.
|